Cleaning your oven racks can be a daunting task, especially when faced with built-up grease and grime that seems nearly impossible to remove. However, utilizing a bit of kitchen science and some household materials, you can get your oven racks sparkling clean. In this article, we’ll explore how aluminum foil, in combination with a few other simple ingredients, can make the task not only manageable but surprisingly effective.
Using aluminum foil to clean oven racks might sound unconventional at first. Yet, aluminum foil is a remarkable material for removing grease due to its durable and abrasive surface when crumpled. Unlike harsh oven cleaners that emit fumes and require gloves for safe handling, aluminum foil is safe and easy to use, and does not contain chemicals. Moreover, it’s an inexpensive tool and one that you likely already have on hand. The process requires wrapping the racks in foil, then scrubbing with natural cleaning solutions you can create yourself.
Why Use Aluminum Foil?
Aluminum foil is more than just a convenient way to cover leftovers or line baking trays. When it comes to cleaning oven racks, the metallic properties of aluminum foil help in loosening the grease and food particles without the need for toxic oven cleaners. The process also ensures racks thoroughly retain their integrity without being scratched or damaged, which harsh chemicals or steel wool might not guarantee.
Benefits of Aluminum Foil for Cleaning
- Non-toxic: Aluminum foil is a safe, non-toxic material to use in your cleaning process. It will not release any harmful chemicals into your home environment, a concern often associated with commercial oven cleaners.
- Cost-effective: Most households already stock aluminum foil, making it a ready-to-use and cost-effective tool for cleaning.
- Gentle Abrasion: The foil can be molded into any shape and when crumpled, it’s abrasive enough to aid in removing grease but gentle enough to not scratch the metal racks.
Understanding the Science
The science behind using aluminum foil to clean involves heat and a chemical reaction. When heated, the foil helps the cleaning solution work more effectively, breaking down the grime on oven racks. By sealing the racks with foil, you trap the heat, which can aid the cleaning agents in loosifying any residues, making them easier to scrub off.
Preparing to Clean Your Oven Racks
Before diving into the cleaning process, you should be well-prepared with all the necessary items and understand the safety precautions required. Cleaning oven racks properly involves handling soiled items and using a bit of elbow grease.
What You’ll Need
- Aluminum Foil
- Baking Soda
- White Vinegar or Dish Soap
- Bathtub or Large Basin
- Soft Scrub Brush or Sponge
- Towels for drying
- Gloves (optional, but recommended)
Safety First: Precautions to Take
When utilizing baking soda and hot water, there should be minimal risks. However, ensuring that you protect your skin from any prolonged exposure to the cleaning solution and using gloves while scrubbing can prevent any unnecessary skin irritation. Furthermore, cleaning in a well-ventilated area is advisable to avoid any discomfort from steam or any mild fumes that might arise from the reaction between the vinegar and baking soda.
The Step-by-Step Cleaning Process
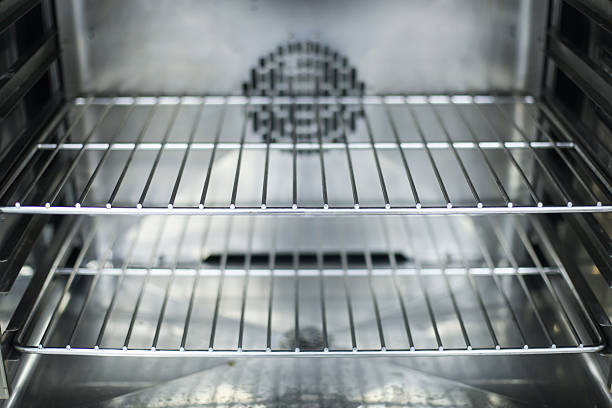
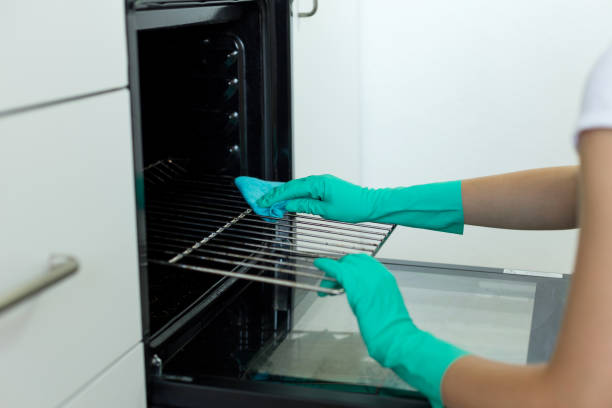
Removing the Racks and Pre-Cleaning
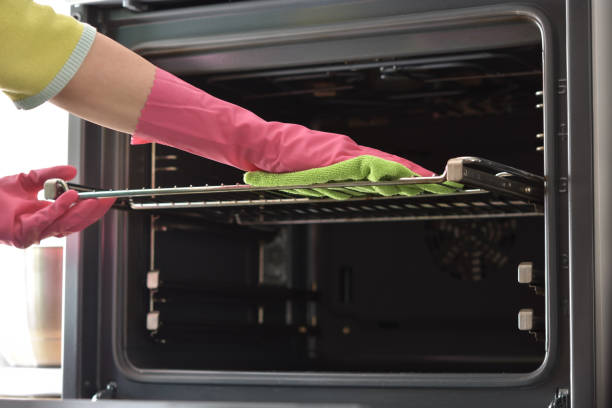
Begin by removing the racks from the oven, taking care not to damage the interior sides or the oven door. Most oven racks could also benefit from a preliminary rinse under the hottest water your tap can supply, which will help diminish the surface grime. A quick wipe-down at this stage with a damp cloth then wiping away any loose particles sets a good foundation for the intensive cleaning to follow.
The table below details the pre-cleaning steps.
| Step | Task | Description |
|---|---|---|
| 1 | Rack Removal | Take out racks carefully to avoid scraping the oven’s interior. |
| 2 | Preliminary Rinsing | Use the hottest water to rinse racks, which aids in removing grease. |
| 3 | Wiping Down | With a damp cloth, remove any loose particles before the major cleaning process. |
Pre-soaking Tips
Soaking the oven racks in warm water mixed with dishwasher detergent or baking soda before wrapping them in aluminum foil can help loosen tough grime. Immerse the racks thoroughly in a bathtub or a large basin filled with the hottest water possible, adding half a cup of dishwasher detergent or a couple of cups of baking soda. Let them soak for at least four hours or overnight for the best results.
Wrapping Racks in Aluminum Foil
After the pre-soak, lay out large sheets of aluminum foil and place the damp oven racks on top. Ensure to wrap the racks completely in the aluminum foil, creating a sealed environment. The next step also involves a homemade cleaning solution, which, when used with the aluminum foil wrapping method, makes removing grease and baked-on food much more manageable.
Let’s pause here, and we can delve further into the magical cleaning solution and the process of scrubbing and maintenance of the racks in the second half of our guide.
The Magical Baking Soda Bath
Mixing the Solution
Creating an effective cleaning solution is straightforward and eco-friendly. Simply mix a cup of baking soda with just enough water to create a thick paste. Spread this paste generously over the oven racks, ensuring all areas are well-covered. The reaction between the baking soda and the residues on the racks helps to loosen the build-up.
Soaking Duration
After applying the paste, the racks should be left in the foil wrapping to sit. During this time, the soda has a chance to work its magic. A minimum of two hours is recommended, but for the best results, leaving the paste on overnight could also be incredibly effective.
Unwrapping and Scrubbing
Carefully unfold the aluminum foil to reveal the racks and the now-loosened grime. You’ll notice a significant amount of dirt has already detached from the racks. With a soft scrub brush or a mildly abrasive sponge, gently yet firmly brush over the racks, particularly focusing on the heavily soiled areas. You’ll find that the once stubborn grime is now yielding to your efforts, transforming your racks from grimy to gleaming.
Rinsing and Drying the Oven Racks
Once you’re satisfied with the scrubbing results, proceed to the final stages of the cleaning process.
- Thoroughly rinse the oven racks under warm to hot running water to wash away all the residues of the cleaning products as well as the dislodged dirt. If needed, use the scrub brush or sponge to assist in removing any lingering baking soda.
- Finally, dry the racks completely with a towel or let them air dry before placing them back into the oven. This prevents water spots and ensures no moisture is introduced into the oven.
Maintenance Tips and Tricks
Regular Cleaning Schedule
To avoid the need for heavy-duty cleaning sessions in the future, setting a regular cleaning schedule will help maintain your oven racks. Quick rub-downs with a sponge after oven use and a thorough clean once a month can keep your racks in tip-top shape.
Preventive Measures for Oven Racks
Using oven liners or aluminum foil to catch drips and spills while cooking is a clever way to keep your oven racks clean. Additionally, keeping an eye out for spills and addressing them promptly after the oven has cooled will ensure that cleaning the racks isn’t an arduous task in the future.
Now, with these detailed steps and tips in mind, you have all the information you need to keep your oven racks thoroughly clean using aluminum foil and a few household items.
Conclusion
The process of transforming your dirty oven racks to a sparkling clean state using aluminum foil and accessible cleaning solutions is not only environmentally friendly but effective. This method guarantees a scrub that won’t damage your racks and negates the need for harsh, potentially harmful chemicals. Removing grease, burnt-on food, and general dirt from oven racks doesn’t have to be an intimidating chore. By following this step-by-step guide, utilizing simple materials, and adopting a consistent maintenance routine, you will keep your oven functioning at its best—all while ensuring a safer, cleaner cooking environment in your home.
FAQs
Q1: Can I use this aluminum foil method for self-cleaning ovens?
A1: Yes, the aluminum foil method can be used for oven racks from self-cleaning ovens. However, do not use this method on the oven’s interior during the self-cleaning cycle, as the extreme heat might damage the aluminum.
Q2: How often should I use this method to clean my oven racks?
A2: Frequency can vary depending on usage, but a thorough clean with the aluminum foil method every 2-3 months is generally sufficient for maintenance. For ovens used heavily or for spills, more frequent cleaning may be necessary.
Q3: Can I use apple cider vinegar instead of white vinegar in the cleaning solution?
A3: Yes, apple cider vinegar could also work as a substitute for white vinegar in the cleaning mixture. While white vinegar is typically preferred due to its higher acidity, apple cider vinegar can also break down grease and grime effectively.
Q4: Is there a way to prevent my oven racks from getting so dirty?
A4: Using oven liners or trays beneath your baking dishes can catch drips and overspills, reducing the amount of cleaning needed. Promptly addressing spills after cooking and not leaving residues on the racks will also help minimize build-up.
Q5: Can this cleaning method be used on other types of metal or just oven racks?
A5: This cleaning method is specifically effective for stainless steel oven racks and may not be suitable for all metal types, especially if they are coated or have special finishes. It’s advisable to check the manufacturer’s recommendations for cleaning other types of metal surfaces or items.