Reglazing a bathtub can transform an old, worn-out fixture into a stunning centerpiece of your bathroom. It’s an ideal solution for homeowners looking to enhance their bath space without the hefty price tag of a full renovation. With a little patience and the right tools, you can achieve a professional-looking finish that rivals brand-new tubs. This article delves into the nitty-gritty of bathtub reglazing, covering the essential steps you need to take, the materials required, and the maintenance tips to keep your new surface looking fresh for years to come. So, let’s dive into the process and discover how to breathe new life into your bathtub!
Understanding Bathtub Reglazing
Reglazing, also known as resurfacing or refinishing, is a process that rejuvenates the surface of your bathtub rather than replacing it. This is a highly effective method for restoring bathtubs that have seen better days, filled with scratches, stains, or unsightly discoloration. Not only does this process save you a great deal of money, but it also significantly reduces waste by keeping your existing tub in use. Additionally, it helps you avoid the mess and hassle associated with a full bathroom remodel. By understanding the benefits of reglazing, you can make a more informed decision for your home improvement project.
- Cost Savings: The expense of reglazing is generally a fraction of the cost of a full tub replacement, making it a budget-friendly option.
- Time Efficiency: The entire process of reglazing can often be completed in just a single day, allowing you to enjoy your tub sooner rather than later.
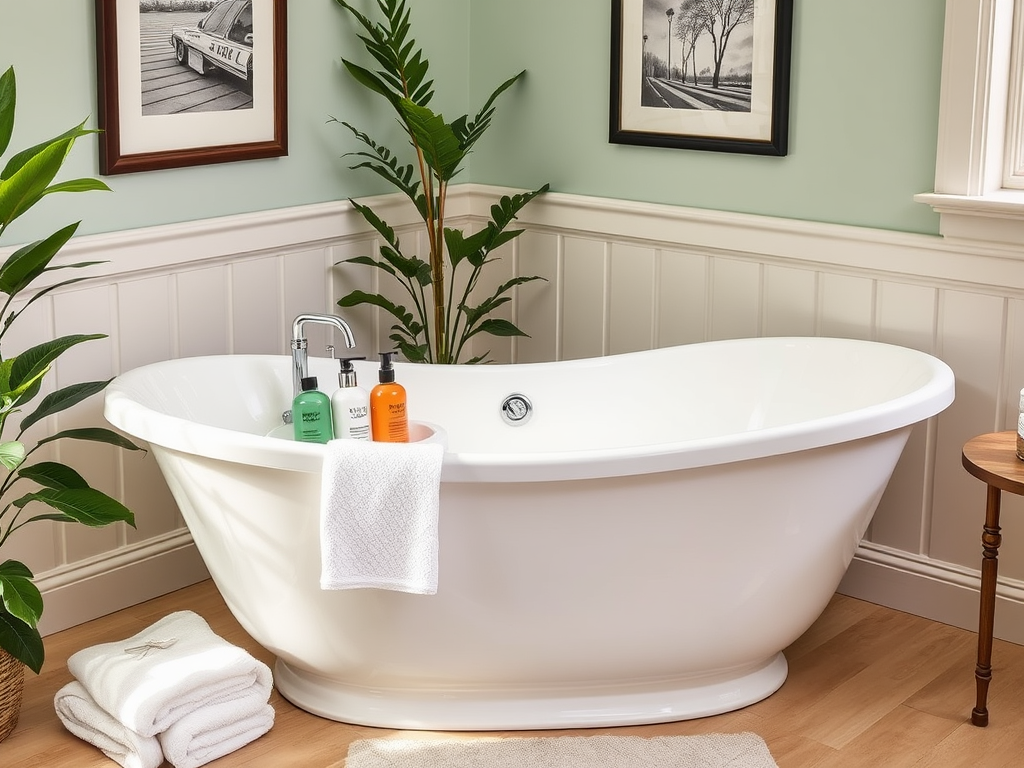
- Aesthetic Appeal: A fresh reglaze removes stains, scratches, and blemishes, providing a shiny, like-new look that enhances the overall feel of your bathroom.
Preparing for the Reglazing Process
Successful reglazing begins with thorough preparation. You must ensure that you have all the necessary tools and materials gathered before starting the project. The right preparation not only guarantees better adhesion of the new glaze but also protects your surrounding areas from unnecessary damage. Ensuring that everything is in order allows you to work without interruption, making the entire process smoother.
Tools and Materials Needed
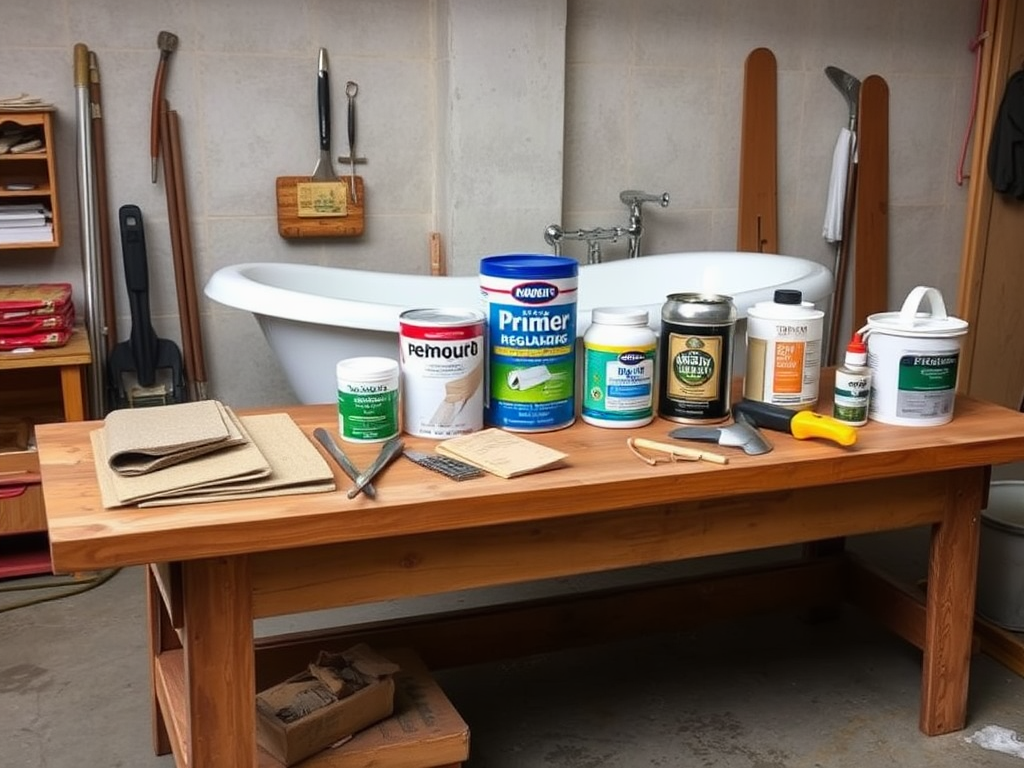
Collecting the right supplies is crucial for a successful reglazing project. Here’s a comprehensive list of what you’ll need:
- Bathtub cleaner
- Sandpaper or a sanding block
- Paint rollers or a spray gun
- Primer
- Reglaze coating
- Ventilation equipment (like fans or masks)
Cleaning Your Bathtub
Before applying the glaze, you must clean the bathtub thoroughly to remove any contaminants that could hinder adhesion. Start with a suitable bathtub cleaner and scrub the surface, focusing on areas with heavy grime or soap scum. Should the tub be made of a material prone to scratching, consider using a gentle non-abrasive cleaner. After cleaning, allow the bathtub to dry completely before moving to the next steps.
The Reglazing Process
Embarking on the reglazing process may seem daunting, but understanding the procedure step-by-step can simplify the task remarkably. Although many prefer hiring professionals, taking on this project yourself can be a rewarding and cost-effective endeavor. Here’s a clear and concise breakdown of the entire process, ensuring that you’ll achieve the best possible results from your hard work.
- Prep the Bathroom: Ensure proper ventilation by opening windows and using fans. Cover surrounding areas with drop cloths to protect them from overspray.
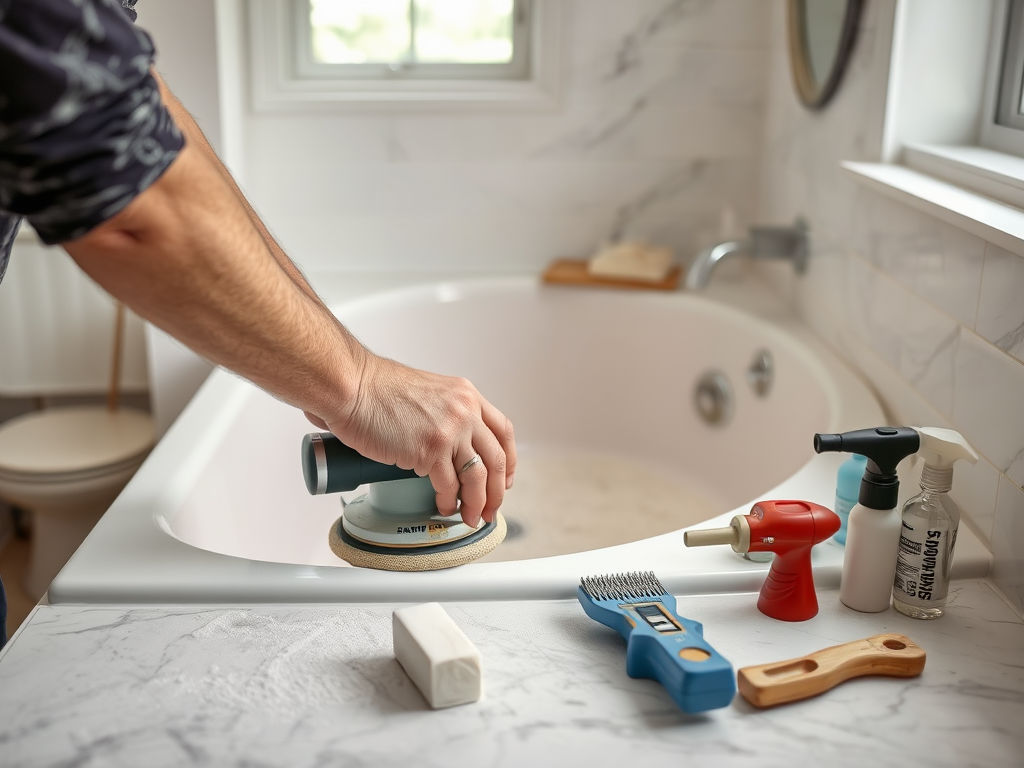
- Sand the Bathtub: Using sandpaper, lightly sand the tub’s surface, focusing on any rough areas to create a texture that promotes better adherence of the glaze.
- Clean Again: After sanding, clean the surface again to remove dust and debris.
- Apply Primer: A high-quality primer is essential for ensuring that the reglaze adheres well to the tub.
- Reglaze the Tub: Use a roller or spray gun to apply an even coat of reglaze to the tub, ensuring there are no missed spots or drips.
- Drying Time: Follow the manufacturer’s recommendations regarding drying times before using the tub again.
| Step | Task | Tips |
|---|---|---|
| 1 | Prep the Bathroom | Use fans for proper ventilation. |
| 2 | Sand the Bathtub | Use fine-grit sandpaper for easy application. |
| 3 | Apply Primer | Choose a primer recommended for your tub’s material. |
| 4 | Reglaze the Tub | Work in thin layers for the best finish. |
Maintaining Your Reglazed Bathtub
After successfully reglazing your bathtub, it’s essential to establish a regular maintenance routine to ensure longevity. Taking care of your newly finished surface will help prevent early wear and preserve the beautiful finish you’ve just achieved. Avoid using harsh chemicals, as these can damage the new surface, and consider how you handle items within the tub. Here are some care tips to remember:
- Gentle Cleaning Products: Opt for non-abrasive cleaners that won’t corrode the glazed surface.
- Avoid Heavy Objects: To prevent scratches, avoid dropping any heavy items into the tub.
- Regular Inspections: Check your tub periodically for signs of wear, addressing any issues as soon as they arise.
Conclusion
Reglazing a bathtub can profoundly enhance the aesthetics of your bathroom without breaking the bank. By following the steps detailed above and adhering to proper maintenance practices, you’ll ensure not only a successful renovation but also a lasting impact in your space. Enjoy the satisfaction that comes with a project well done and revel in the beauty of your freshly reglazed tub for years to come.
Frequently Asked Questions
- How long does the reglazing process take? The reglazing process typically takes one day, with drying times varying based on the product used.
- Can I use my bathtub immediately after reglazing? It is usually recommended to wait at least 24-48 hours before using the bathtub to ensure the coating has set properly.
- Is reglazing safe for all types of bathtubs? Most bathtubs can be reglazed, but it’s best to consult with a professional regarding your specific tub material.
- What should I do if the reglaze starts to peel? If peeling occurs, it may require a professional to assess the damage and possibly reconstitute the reglaze.
- How often should I reglaze my bathtub? Depending on usage and maintenance, reglazing can last anywhere from 5 to 10 years before needing another application.