Have you ever opened your chest freezer only to be confronted by a chaotic jumble of frozen goods? If so, you’re not alone. An organized freezer not only saves you time but also prevents unnecessary food waste, a common dilemma for many households. When food is easily accessible, you’re more likely to use it before it expires, reducing the risk of throwing away uneaten items. The good news? Organizing your freezer can be a straightforward process with a methodical approach. The following steps will guide you through transforming that icy cavern into a neatly arranged, efficient food storage solution.
Assessing Your Freezer Space

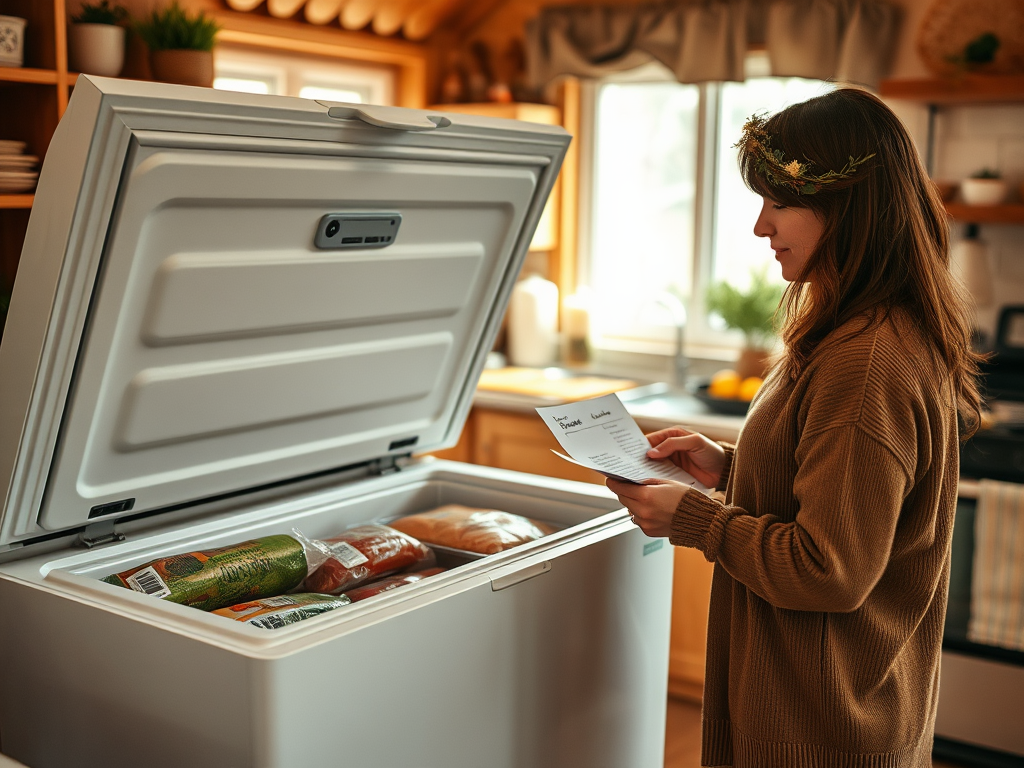
Your journey begins with assessing the overall space of your chest freezer. First, measure the dimensions to better understand the area you have to work with. This assessment also helps you identify how much food you’re able to store and the best organization strategies for that specific space. Consider these factors: the shape and layout of items you’ll be storing, the total volume, and any specific compartments or sections within the freezer. Knowing these details will inform your next steps, ensuring that every square inch is utilized effectively. Ultimately, understanding your freezer’s limits sets you up for successful organization.
Categorizing Your Food Items

Once you have a clear picture of your freezer’s dimensions, it’s time to categorize your food items. This step is crucial for creating an efficient organization system. Common categories you might consider include:
- Meats: Beef, chicken, pork, and fish.
- Vegetables: Frozen or blanched, either whole or chopped.
- Fruits: Whole, sliced, or puréed fruits.
- Prepared meals: Leftovers or batch-cooked meals.
- Snacks: Ice cream, frozen treats, and ready-to-eat options.
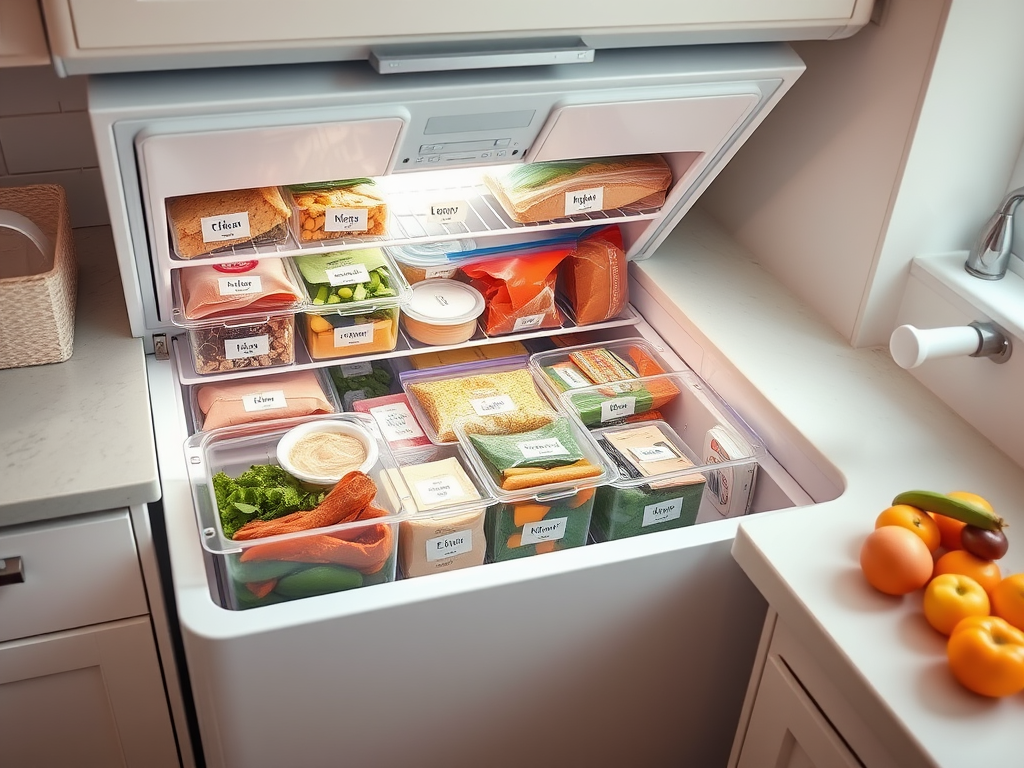
By grouping items into these categories, you make it easier to locate what you need at any given moment. Labeling each category helps keep things organized and allows for quick identification without having to dig through everything. For optimal clarity, consider using stickers or a color-coding system based on categories. Always aim for neatness while categorizing, as this step will pay off tenfold when you need to find food in a hurry.
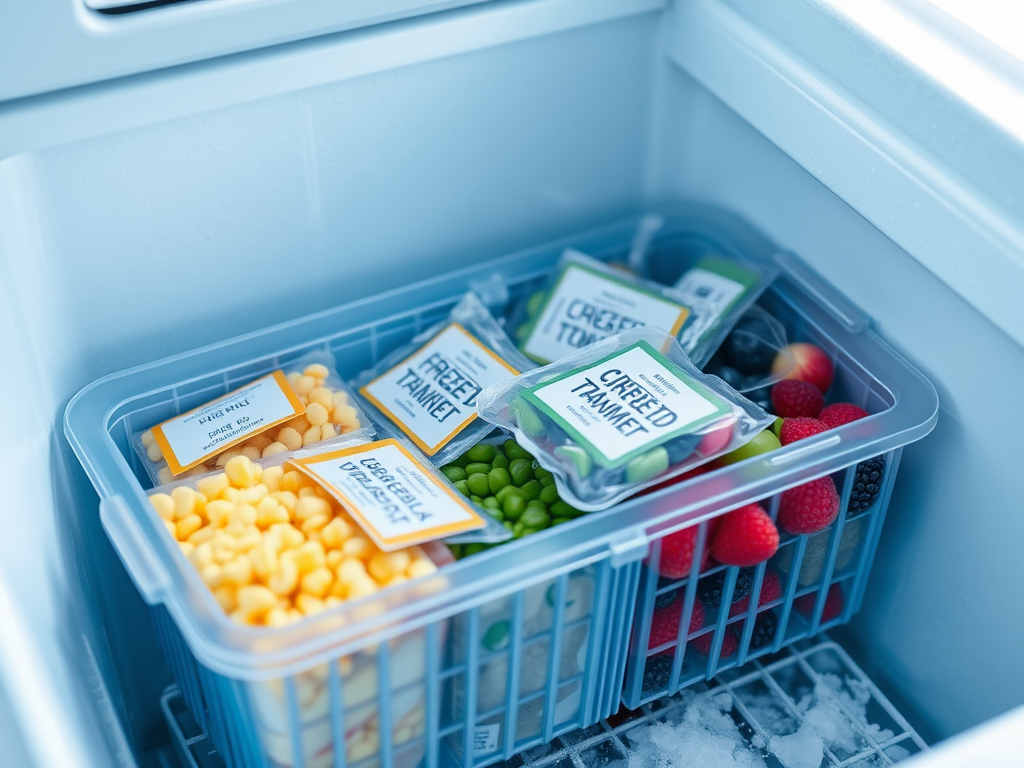
The type of storage containers you use in your chest freezer can dramatically impact your organization efforts. Opting for clear containers allows you to see the contents at a glance, thus minimizing the time you spend searching for items. Other effective options include freezer bags that can be sealed tightly to avoid freezer burn. Remember that different kinds of containers serve various purposes:
- Heavy-duty freezer bags: Ideal for meats and individual meals.
- Bins or baskets: Perfect for grouping similar items together, making access simple.
- Labeling supplies: Essential for keeping track of expiration dates and contents.
Using the right containers not only enhances organization but also boosts longevity for your foods. For example, freezer bags can be flattened to save space, while bins can be used to stack items vertically if your freezer permits. Selecting suitable containers is a small but significant step toward freezer efficiency.
Cleaning and Preparing Your Chest Freezer
Before diving into the actual organization, cleanliness is crucial. A clean freezer is more hygienic and promotes better food preservation. Start by defrosting the freezer if ice buildup exists. Once defrosted, wipe down all surfaces with a mixture of warm water and vinegar. This not only cleans but also helps eliminate any lingering odors. During the process, take the time to check for expired items and toss them out. To ensure the best results, always maintain cleanliness, as it also enhances food safety.
| Food Type | Storage Time | Best Storage Method |
|---|---|---|
| Meat | 6-12 months | Heavy-duty freezer bags or vacuum sealed |
| Vegetables | 8-12 months | Blanched and stored in labeled bags |
| Fruits | 6-12 months | Seedless and frozen flat in bags |
| Prepared meals | 3-6 months | Stacked and labeled containers |
| Snacks | 1-3 months | Sealed bags or containers |
Strategically Organizing Your Freezer
Now that your freezer is clean and categorized, it’s time to focus on strategic organization. Efficient stacking and proper placement can make a significant difference. Place heavier items, like large cuts of meat, on the bottom and lighter items on top to avoid crushing anything fragile. Grouping similar categories together ensures the most ease of access, particularly during busy meal prep times. Additionally, don’t overlook vertical space; consider layering and stacking items when possible. Utilizing stored space wisely means you can fit more food without creating a mess.
Freezer baskets are a fantastic way to elevate your organization game. They allow you to group similar items, making them easy to find when you’re in a hurry. If your chest freezer doesn’t come with compartments, consider creating DIY compartments using cardboard boxes or small bins. You can even repurpose shoeboxes for the same purpose. They can provide additional segregation without the need for purchasing expensive dividers. A well-organized freezer also encourages you to incorporate new foods into your cooking routine, expanding your culinary horizons.
Maintaining Your Organized Freezer
Congratulations! You’ve successfully organized your chest freezer; now, it’s time to maintain it. Establish a routine for regular check-ins to keep your freezer in good condition. Make it a habit to use up older items first, ensuring that everything is consumed before expiration. Implement a simple system for labeling any new items added, providing the date of freezing as well as contents. Another effective strategy is to create a comprehensive inventory of what you have in your freezer, including expiration dates, allowing for seamless management of your food stock. By actively maintaining your system, you’ll ensure long-term efficiency.
Conclusion
An organized chest freezer is a game changer for anyone looking to streamline meal prep and reduce waste. By following the steps outlined, you’re not only enhancing the usability of your freezer but also promoting food safety and reducing the risk of spoilage. The rewards of having a neatly arranged space are significant, as it allows for easier access, better meal planning, and ultimately, a more enjoyable cooking experience. Remember that consistency is key; by committing to regular maintenance, your organized freezer will remain a source of efficiency and inspiration.
Frequently Asked Questions
- How often should I clean my chest freezer? It’s recommended to clean your freezer at least twice a year or whenever you notice build-up or spills.
- What is the best way to label items in my freezer? Use waterproof labels or permanent markers on freezer bags to create clear, easily readable contents and dates.
- Can I store any food items in the freezer? Most food items can be frozen, but certain items like mayonnaise, leafy greens, and cooked pasta may not maintain their texture and flavor.
- How can I prevent freezer burn? Ensure food is properly wrapped and sealed, minimizing air exposure. Use vacuum sealers where possible.
- How long can food be stored in the freezer? Typically, food can last anywhere from 3 to 12 months in the freezer, depending on the type of food. Always check specific guidelines for different items.
